


These Best Phones for Kids mix real GPS tracking, screen time limits, and smart safety tools, so parents finally get some peace of mind.

Why engineers quietly call T1000 Carbon Fiber “black gold” — and how it’s holding up planes, rockets, and race cars today.

AI-Powered Cars now fly drones, read your mood, and brake before you even blink. Here’s the list that proves it.

If there is one chip that defines the AI era of 2026, it is the NVIDIA B200. Built on the Blackwell architecture and fabricated on TSMC’s 4NP process, it packs
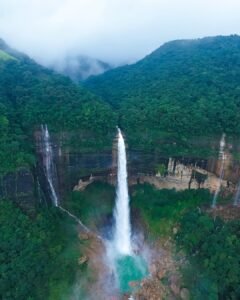
These monsoon destinations in India are safe, stunning, and wildly underrated — perfect for travelers who love rain, mist, and green hills without the chaos.

How Warren Buffett made his first $1000 selling gum, Coke, and pinball — and the simple money habits every kid (and adult) can copy right now in 2026.

SpaceX, Starlink, and AI Satellites are quietly building something far bigger than internet service — and the numbers are wild.
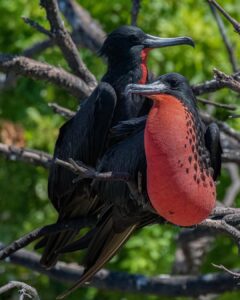
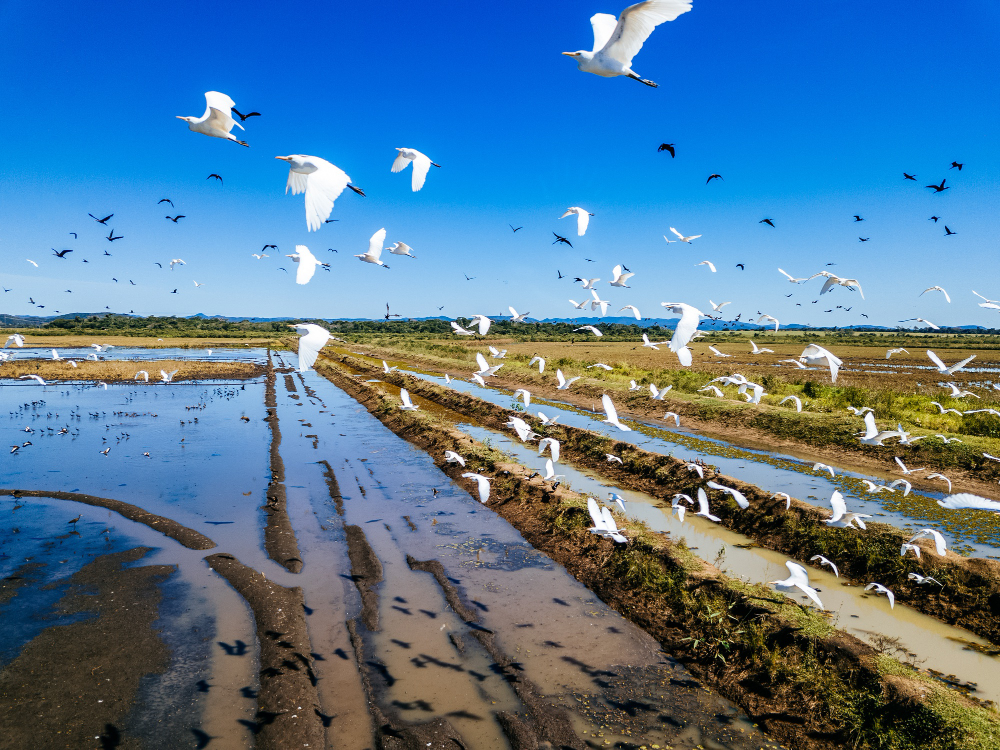
These extraordinary flyers — top 10 birds that can fly for days without landing — redefine what endurance looks like, and #1 will genuinely leave you speechless.

Shillong Bara Bazaar Breakfast Healthy Street Food — where every morning bite tells a story older than any hotel menu.

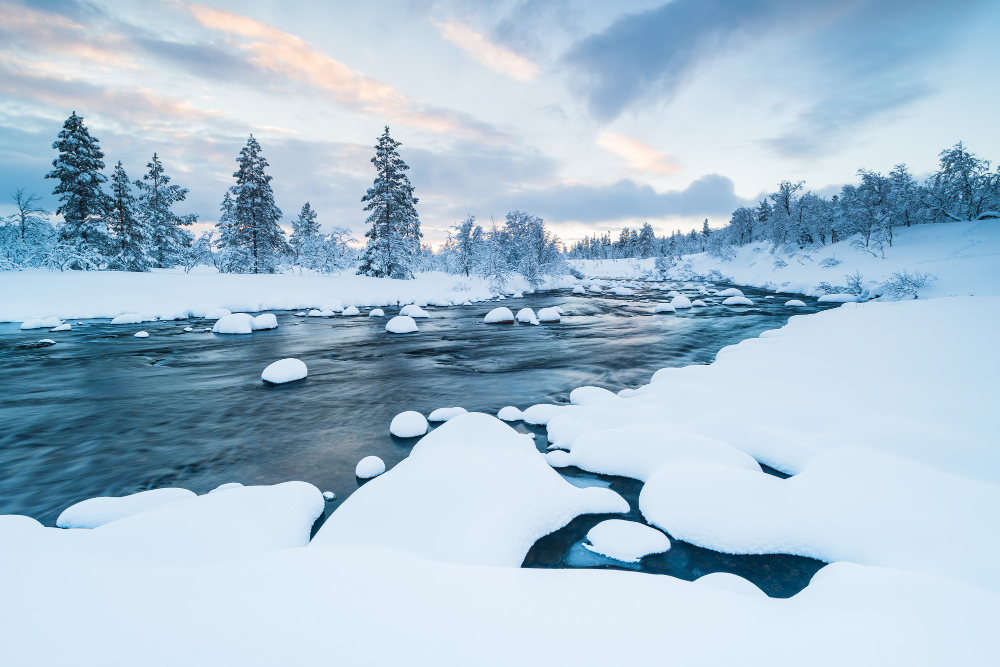
These expensive river destinations are more than just pretty water — they’re wild, alive, and breathtaking in ways that photos simply can’t do justice.

Paul Conyngham uses AI to create cancer vaccine for his dog Rosie — and it’s one of the most quietly extraordinary stories of our time.

Japan is not only renowned for its rich history and stunning natural landscapes but also for its unparalleled culinary traditions. Among the plethora of culinary delights that Japan is celebrated

Picking the right gelling agent can make or break your dessert. Whether you’re making a delicate mousse, a firm jelly, or a pastry topping, choosing between gelatin and agar is

Iron-armored snails and heat-proof beetles call volcanic zones home. Here’s what lives near volcanoes and how these creatures survive temperatures that melt metal.

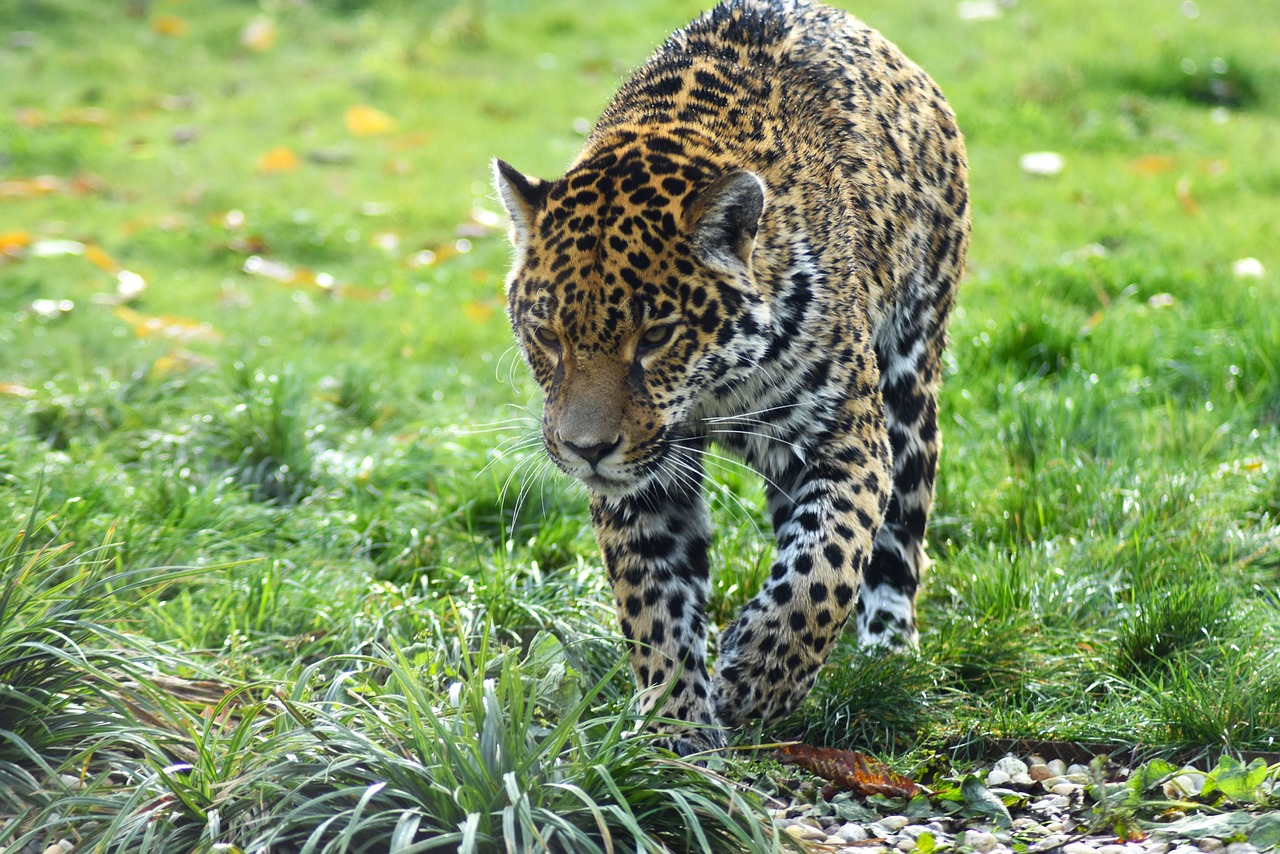
The 63 National Parks in USA hold secrets most folks never discover. Some will humble you. Others might just ruin you for ordinary vacations forever.

When it comes to stunning urban phenomena, Manhattanhenge stands out as one of the most captivating spectacles in the bustling metropolis of New York City. Twice a year, the setting

“Squid Game” has taken the world by storm, captivating audiences with its intense narrative and stark critique of societal inequalities. However, a recent trend inspired by the show’s ‘bread or

Street art, a vibrant and dynamic form of artistic expression, has journeyed from its inception on the gritty walls of urban decay to becoming a globally recognized and influential art

In the rapidly evolving landscape of technology, the debate between artificial vs. natural intelligence has taken center stage, sparking philosophical, ethical, and practical discussions. As we delve into this exploration,

How am I conscious, and why do I exist as “me” and not someone else? Dive deep into what makes your awareness real, and why your self even exists at