


Skyroot Vikram-1 successfully reached orbit on its very first flight, marking a historic milestone for India’s growing private space industry. The successful maiden launch demonstrated the capabilities of India’s first

Japanese traditional fermented tofu making turns humble soybeans into something rich, pungent, and older than most family recipes still in use today.

These Best Phones for Kids mix real GPS tracking, screen time limits, and smart safety tools, so parents finally get some peace of mind.

Why engineers quietly call T1000 Carbon Fiber “black gold” — and how it’s holding up planes, rockets, and race cars today.

AI-Powered Cars now fly drones, read your mood, and brake before you even blink. Here’s the list that proves it.

If there is one chip that defines the AI era of 2026, it is the NVIDIA B200. Built on the Blackwell architecture and fabricated on TSMC’s 4NP process, it packs

These monsoon destinations in India are safe, stunning, and wildly underrated — perfect for travelers who love rain, mist, and green hills without the chaos.

How Warren Buffett made his first $1000 selling gum, Coke, and pinball — and the simple money habits every kid (and adult) can copy right now in 2026.

SpaceX, Starlink, and AI Satellites are quietly building something far bigger than internet service — and the numbers are wild.

These extraordinary flyers — top 10 birds that can fly for days without landing — redefine what endurance looks like, and #1 will genuinely leave you speechless.

New Zealand organic greenshell mussels grow without feed or chemicals, filtering ocean water while creating underwater habitats. Here’s why they’re seafood’s sustainability success story.

The top 10 best smartphones in the world right now aren’t just about specs — they’re about what fits your life, budget, and the way you actually use a phone.

An invisible line splits tigers from kangaroos in Indonesia. The Wallace Line isn’t just a quirk of nature—it’s the key to how species evolve across continents!

Explore hidden hiking trails 2025 and discover paths less travelled for your next adventure. Nature has a way of whispering secrets to those who seek it. This year, 2025, unveils
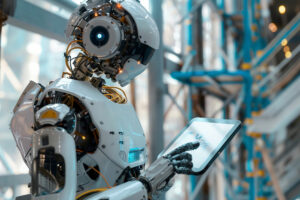
AI in robotics involves embedding intelligent algorithms into robotic systems, enabling them to perform tasks autonomously, learn from experiences, and adapt to new situations. This fusion of AI and robotics

Cryptocurrency, a digital or virtual form of currency, has been making waves in the financial industry for the past decade. Bitcoin, the first and most well-known cryptocurrency, was introduced in

Skyscrapers are some of the most impressive and recognizable structures in the world. These towering buildings are a testament to human ingenuity and engineering prowess, but have you ever wondered

In the realm of wealth and success, certain skills play a crucial role in determining who thrives and who merely survives. The wealthy individuals aren’t just lucky; they possess a

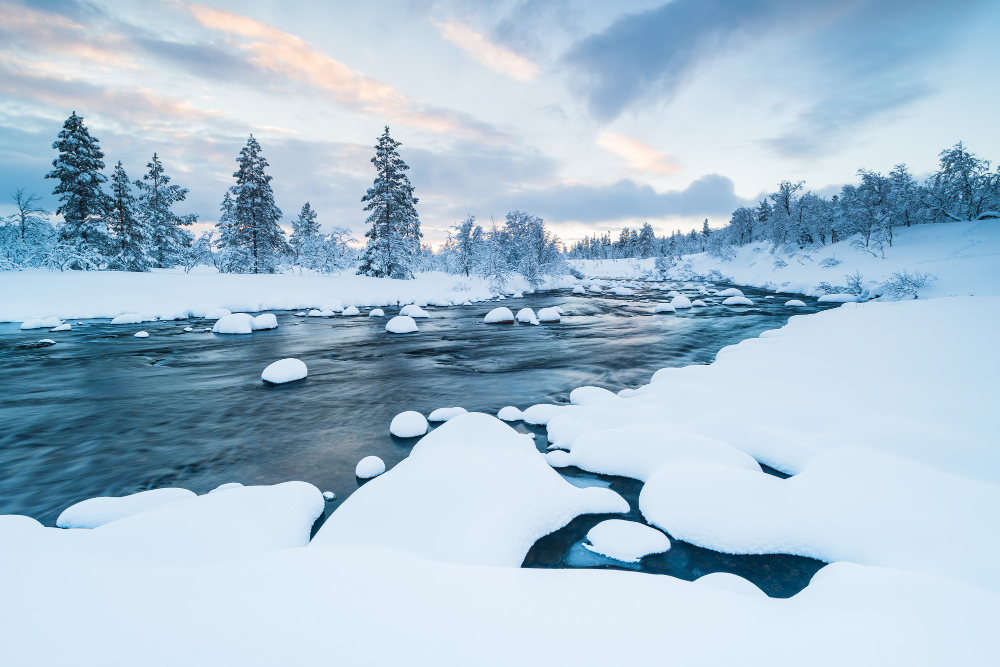
Explorers and fur trappers have described it as the last great wilderness on Earth. It stretches for 13 million flat, featureless square kilometres from the snow and ice of

As city lights erase the stars, India’s deserts, mountains, and islands still offer rare dark skies. A quiet journey to the country’s best stargazing locations.