Microgreens are small but mighty. These young, tender plants have captured the hearts of chefs, health enthusiasts, and entrepreneurs around the world. What started as a trendy garnish in high-end restaurants has grown into a booming market, with more and more people realizing the immense potential of these nutrient-packed greens. If you’ve ever wondered how to grow microgreens and why they make such a lucrative business, you’re in for a treat.
In this detailed guide, we’ll explore everything you need to know about growing microgreens, why they are in high demand, and how you can turn this rewarding activity into a thriving business.
 Pin
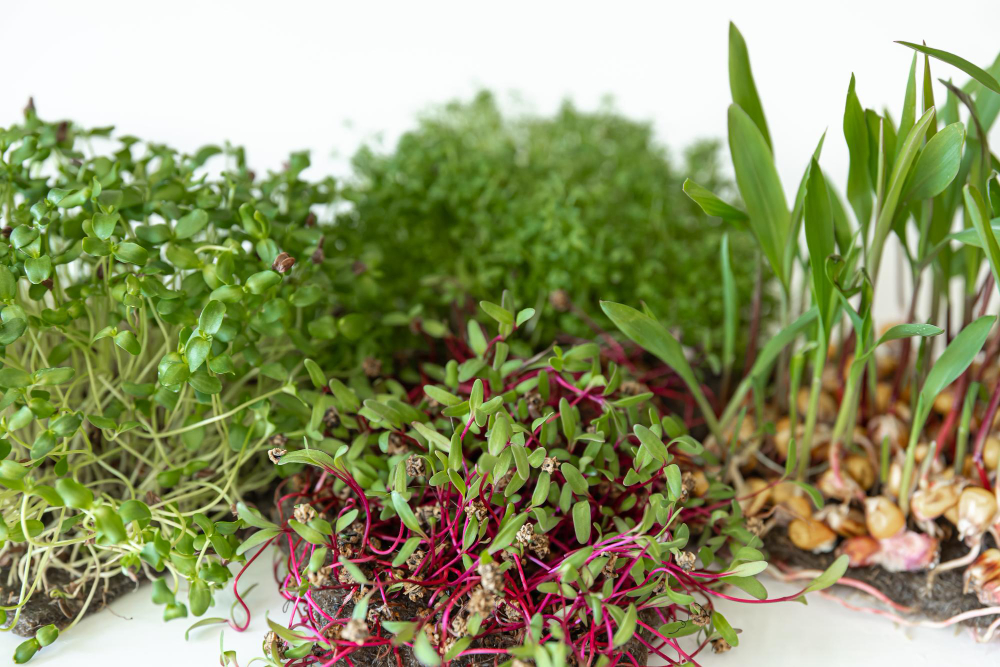
Pin Image by pvproductions on Freepik
Table of Contents
What Are Microgreens?
Microgreens are edible plants harvested at an early stage of growth, usually just after the first true leaves appear. They are packed with flavor, vibrant colors, and a remarkable concentration of nutrients. Though small in size, their benefits are immense.
 Pin
Pin Image by Sonja from Pixabay
 Pin
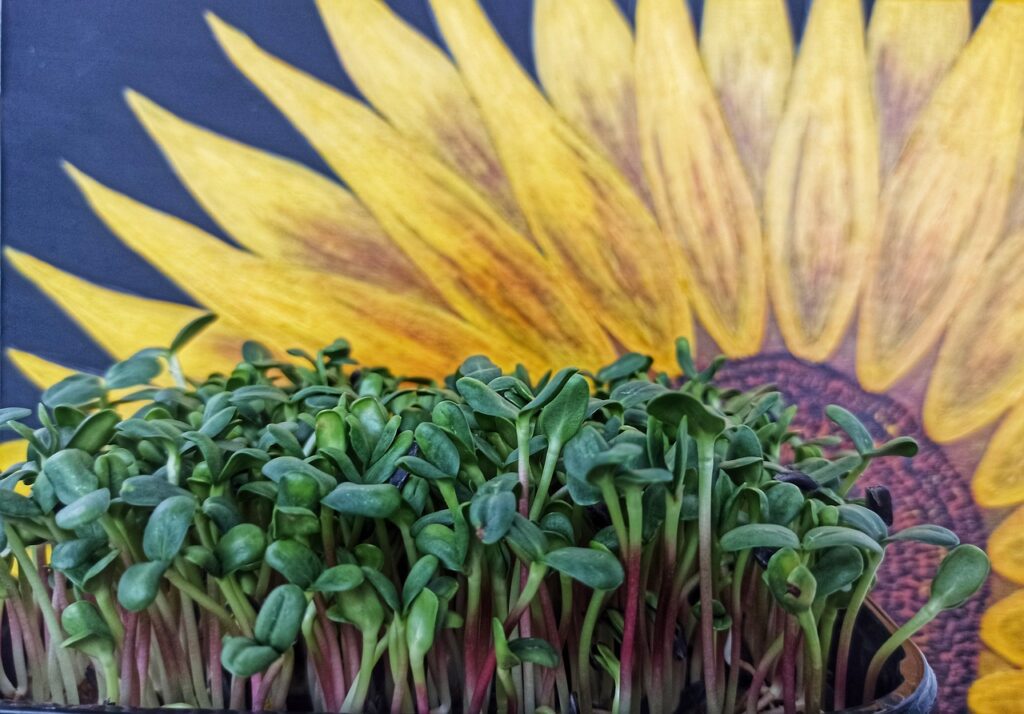
Pin Image by Артем from Pixabay
 Pin
Pin Image by Susan Slater via Wikimedia Commons
 Pin
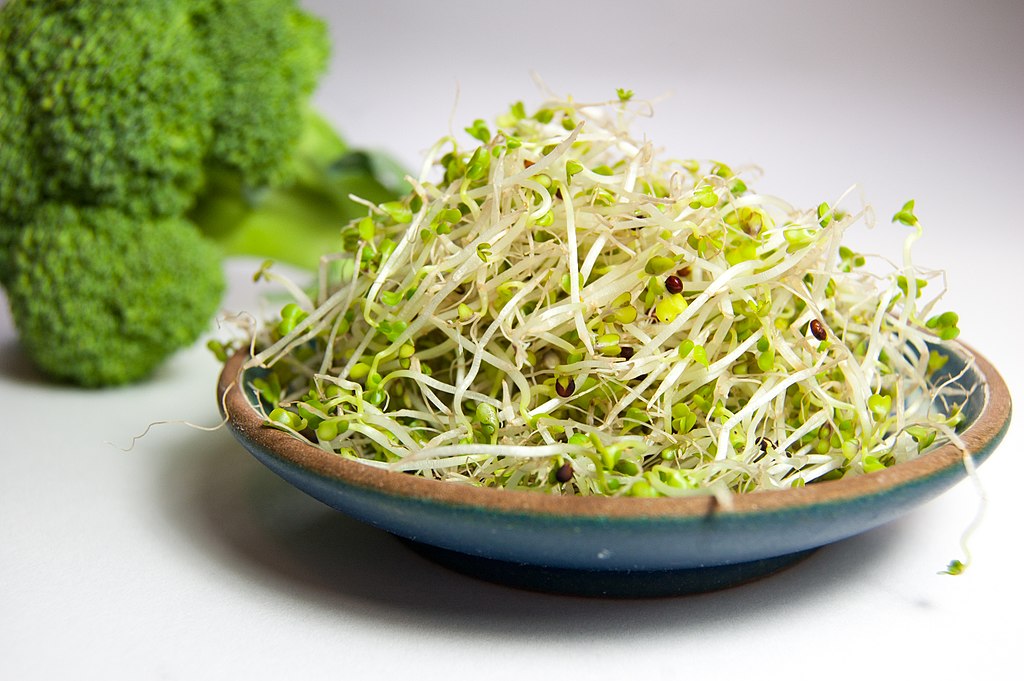
Pin Image by Thorsten Müller via Wikimedia Commons
 Pin
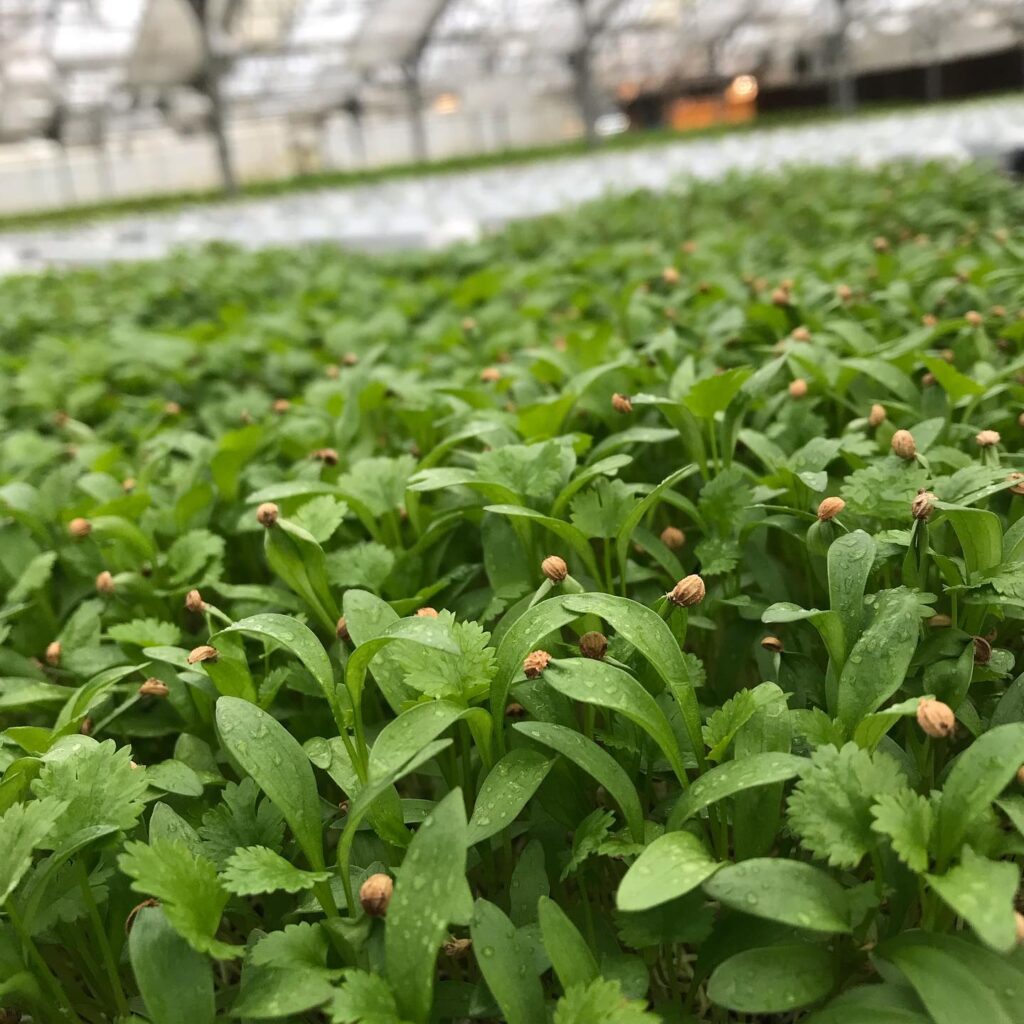
Pin Image by @bluemittenfarms via Instagram
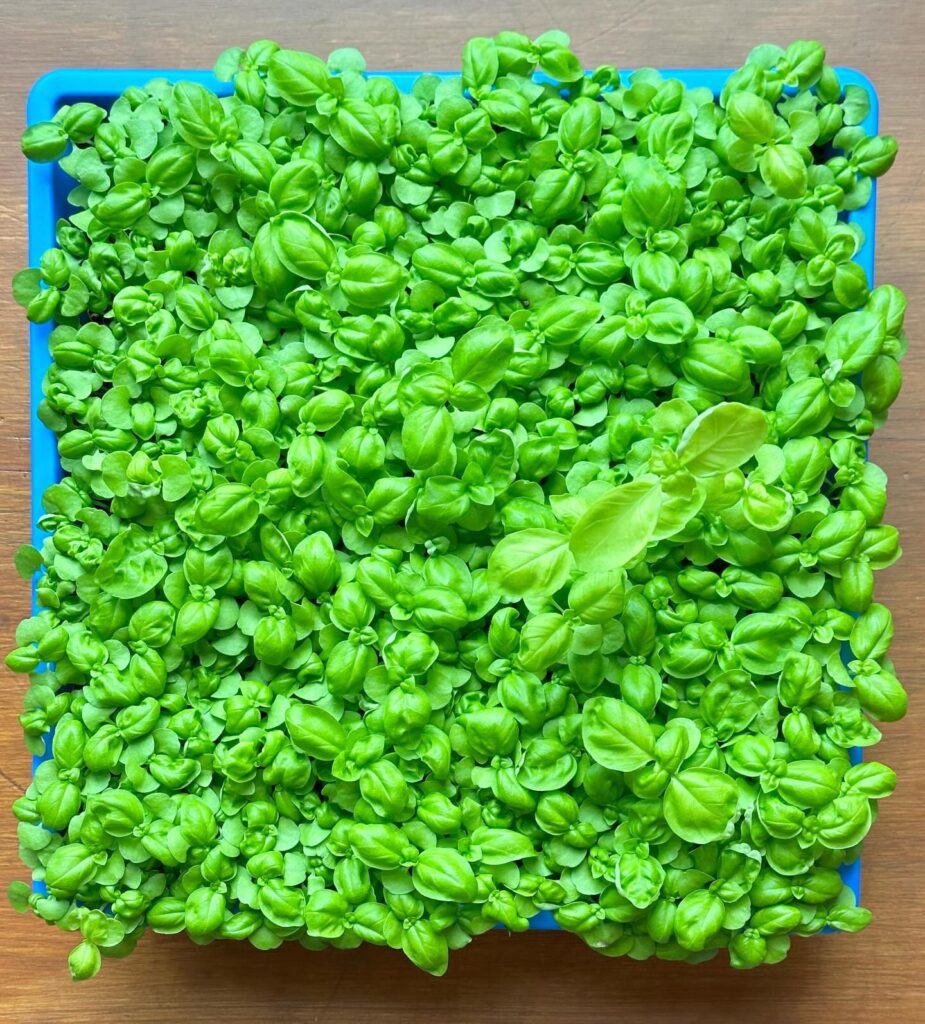 Pin
Pin Image by @sunrisehillsantafe via Instagram
These greens are incredibly versatile, finding their way into salads, sandwiches, smoothies, and gourmet dishes. But beyond their culinary appeal, microgreens also hold great business potential due to their high market value and low growing requirements.
Why Microgreens Are Worth Your Attention
Nutritional Powerhouses
Studies show that microgreens can contain up to 40 times more nutrients than their mature counterparts. They’re rich in vitamins, minerals, and antioxidants, making them a superfood in the truest sense.
Easy to Grow
You don’t need acres of farmland or years of gardening experience to grow microgreens. With a few trays, seeds, and a light source, you can start growing them in your kitchen, garage, or balcony.
High Demand in the Market
The demand for fresh, local, and organic produce is skyrocketing. Microgreens are especially popular among health-conscious consumers and gourmet chefs, ensuring a steady market for growers.
Profitable and Sustainable
Microgreens have a quick turnaround time—most are ready to harvest in 7-14 days. This fast growth cycle means you can produce and sell multiple batches in a short period, all while using minimal resources.
Step-by-Step Guide to Growing Microgreens
Growing microgreens is not only simple but also incredibly rewarding. These tiny plants require minimal effort, space, and resources, making them perfect for beginners and seasoned gardeners alike. Whether you’re growing them for personal consumption or planning to start a business, this step-by-step guide will walk you through the entire process.
1. Gather Your Supplies
Seeds
- What to Choose: Opt for organic, non-GMO seeds labeled specifically for microgreens. These seeds are free from harmful chemicals and are better suited for early-stage harvesting.
- Popular Choices: Radish, broccoli, pea shoots, sunflower, and arugula are great options for beginners due to their fast growth and high success rates.
- Where to Buy: Purchase seeds from reputable sources like garden centers, online retailers, or local co-ops.
Growing Trays
- Type: Shallow trays (1–2 inches deep) are ideal. You can use trays with or without drainage holes. If you’re new to growing microgreens, trays with holes allow excess water to drain, reducing the risk of overwatering and mold.
Tip: Recycle household items like old baking trays or plastic containers if you don’t have specific growing trays.
Growing Medium
- Options: You can use organic potting soil, coconut coir, or hydroponic mats.
- Organic Potting Soil: Offers excellent nutrient retention and support for microgreens.
- Coconut Coir: A sustainable and lightweight option, perfect for those avoiding traditional soil.
- Hydroponic Mats: Suitable for water-based growing systems and a cleaner option for indoor setups.
Tip: Ensure the medium is sterile and free from pests or diseases to avoid contamination.
Light Source
- Natural Light: If you have access to a sunny windowsill or balcony, natural sunlight works well. Microgreens need 12-16 hours of light daily.
- LED Grow Lights: These provide consistent, controlled lighting and are especially useful in darker rooms or during winter months. Choose full-spectrum grow lights for optimal growth.
Spray Bottle
- Why It’s Essential: A spray bottle ensures gentle watering without disturbing the seeds or compacting the soil. This is crucial during the early stages of growth when the seeds are delicate.
2. Prepare the Growing Tray
Steps to Prepare the Tray:
- Fill the Tray: Add about an inch of your chosen growing medium. This depth is sufficient to support the roots without wasting resources.
- Level the Surface: Smooth out the soil or medium to create an even surface. Uneven surfaces can lead to inconsistent seed growth and patchy microgreens.
- Moisten the Medium: Lightly mist the soil with water before planting. This ensures the seeds have immediate access to moisture for germination.
3. Sow the Seeds
Steps to Sow the Seeds:
- Distribute Evenly: Scatter the seeds evenly across the surface. Aim for full coverage, but avoid overcrowding. Overlapping seeds can trap moisture and lead to mold.
- Press Lightly: Gently press the seeds into the soil using your hand or a flat tool. This ensures good contact between the seeds and the growing medium, promoting quicker germination.
- Leave Uncovered: Do not bury the seeds. Microgreens thrive when the seeds are exposed to light and air, even during the germination phase.
4. Water and Cover
Steps to Water and Cover:
- Mist Thoroughly: Use your spray bottle to lightly mist the seeds. Avoid overwatering, as this can lead to soggy soil and fungal growth.
- Cover the Tray: Place another tray or lid over the top to trap moisture and create a mini greenhouse effect. This step is essential for maintaining the humidity levels needed for germination.
- Check Daily: Lift the cover daily to check the moisture level. If the soil feels dry, mist it lightly before replacing the cover.
5. Monitor and Provide Light
After 2-3 days, your seeds will begin to sprout. This is when they require light and proper care to grow into healthy microgreens.
Steps to Monitor and Light:
- Remove the Cover: Once the seeds germinate and tiny shoots appear, remove the cover completely. This prevents mold and allows the plants to access light.
- Provide Light: Place the tray under natural sunlight or an LED grow light. Ensure the microgreens receive at least 12-16 hours of light daily. Without enough light, the plants may become leggy and weak.
- Water Carefully: Continue misting the microgreens as needed to keep the soil slightly damp. Avoid overwatering, especially once the plants are exposed to light.
6. Harvest Time
The final step is harvesting your microgreens—a quick and satisfying process. Most varieties are ready to harvest in 7-14 days, depending on the type of seed.
Steps to Harvest Microgreens:
- Check Readiness: Microgreens are typically ready for harvest when they are 2-4 inches tall and have developed their first set of true leaves.
- Harvest with Scissors: Use a clean pair of scissors to cut the microgreens just above the soil line. Avoid pulling them out, as this can introduce dirt and damage the plants.
- Rinse Gently: Place the harvested microgreens in a bowl of cold water and swish gently to remove any soil or debris. Pat them dry with a paper towel or salad spinner.
- Store Properly: Store the microgreens in an airtight container in the refrigerator. They can stay fresh for up to a week, depending on the variety.
Additional Tips for Growing Microgreens Successfully
- Hygiene is Key: Always use clean trays, tools, and water to avoid contamination.
- Avoid Overwatering: Excess moisture is the leading cause of mold. Keep the growing medium damp, not soggy.
- Experiment with Varieties: Once you’ve mastered the basics, try growing different types of microgreens to find your favorites.
- Label Your Trays: If you’re growing multiple varieties, label each tray to avoid confusion.
- Monitor for Pests: Although rare, pests like gnats can occasionally appear. Use organic pest control methods if needed.
How to Start a Microgreens Business
Microgreens are more than a nutritional powerhouse—they’re also a thriving business opportunity. With their quick growth cycle, low startup costs, and high profit margins, microgreens have captured the attention of budding entrepreneurs everywhere. If you’re considering turning your passion for growing microgreens into a profitable venture, this detailed guide will walk you through each step to set you up for success.
Step 1: Research Your Market
Potential Customers for Microgreens:
- Restaurants and Chefs: Gourmet and fine-dining chefs love using microgreens for their vibrant colors, intense flavors, and decorative appeal. Focus on building relationships with local restaurants to secure regular orders.
- Farmers’ Market Shoppers: People at farmers’ markets often seek fresh, organic, and locally grown produce. Selling directly to consumers at these markets lets you showcase the freshness of your greens and share their health benefits.
- Health-Conscious Individuals: Microgreens are rich in nutrients, making them a hit with fitness enthusiasts, vegans, and people prioritizing healthy eating. Selling pre-packaged blends tailored for smoothies, salads, or meal prep can be especially appealing to this group.
Tips for Market Research: Visit local farmers’ markets and grocery stores to observe microgreens availability and pricing. Survey potential customers to understand their preferences and buying habits. Research online marketplaces and delivery services to assess demand in your region.
Step 2: Calculate Costs and Profits
Breakdown of Costs:
- Seeds: $1–$3 per tray depending on the variety.
- Growing Medium (Soil, Coconut Coir, Hydroponic Mats): $0.50–$1 per tray.
- Utilities: Grow lights consume minimal electricity, and water usage is low.
- Packaging: Clear containers or compostable packaging costs about $0.50–$1 per unit.
Profit Margins:
A single tray of sunflower microgreens can cost as little as $2 to grow.
That same tray can yield approximately 8–12 ounces of greens, selling for $20–$40 depending on your market.
Example Profit Calculation:
- Monthly production: 30 trays
- Average revenue per tray: $30
- Monthly revenue: 30 trays × $30 = $900
- Monthly costs: 30 trays × $3 = $90
- Net Profit: $900 – $90 = $810
Step 3: Find Your Niche
Standing out in a growing market is essential. Focusing on a niche helps you attract specific customers and build a loyal following.
- Colorful Varieties for Garnishes: Cater to chefs and food stylists by offering vibrant options like red amaranth or rainbow radish.
- Blends for Specific Uses: Create pre-packaged blends tailored for salads, smoothies, or soups. For example, a “Detox Blend” could include broccoli, kale, and sunflower microgreens.
- Specialty Diets: Market to vegan, gluten-free, or keto communities by highlighting how microgreens fit into their dietary goals.
- Subscription Services: Offer weekly or bi-weekly deliveries of fresh microgreens directly to customers’ homes or businesses.
Step 4: Build Your Brand
A strong brand sets your business apart and helps you connect with your audience. From the name to the packaging, every detail matters.
How to Create a Memorable Brand:
- Choose a Unique Name: Opt for a name that reflects freshness, health, or sustainability. Examples: “Green Sprout Co.” or “Fresh Harvest Microgreens.”
- Design a Logo and Packaging: Use eco-friendly materials and eye-catching designs. Highlight key selling points, like “organic” or “locally grown,” on your packaging.
- Establish an Online Presence: Social media platforms like Instagram, TikTok, and Pinterest are excellent for showcasing the beauty of microgreens. Share recipes, health benefits, and behind-the-scenes content to engage your audience.
- Leverage Word of Mouth: Offer referral discounts or freebies to encourage existing customers to spread the word.
Step 5: Scale Gradually
Starting small and expanding as demand grows is the smartest way to build a sustainable business.
Steps to Scale Your Business:
- Start with Local Markets: Focus on farmers’ markets, small restaurants, and health food stores to establish a customer base.
- Diversify Your Products: Once you’re confident, introduce new varieties or value-added products like microgreen powders or pesto.
- Collaborate with Larger Retailers: Partner with grocery stores, meal kit services, or online marketplaces to reach a broader audience.
- Invest in Automation: As orders increase, invest in tools like automated irrigation systems or vertical grow racks to streamline production.
Conclusion
Starting a microgreens business is an exciting journey that combines passion, sustainability, and profitability. With their quick growth cycle, high demand, and low startup costs, microgreens offer an excellent opportunity for aspiring entrepreneurs.
By understanding your market, calculating your costs, and building a unique brand, you can turn your microgreens venture into a thriving business. So, take the first step today—your dream of running a successful microgreens business is just a tray of seeds away!
Are you ready to turn your love for greens into a lucrative business? Let’s get started!


